
Carbon Dust process
I took a class several years ago on carbon dust, which originated as a technique for medical illustration. It was much faster than graphite and able to achieve a greater dynamic range (its darks are darker than what you can achieve with typical graphite). These qualities make it wonderful for botanical illustration too, but it hasn’t taken hold as a main medium in the botanical world, perhaps just because it’s a little finnicky.
Since I’m embarking on my third large carbon dust piece, I thought I’d share a bit about what I’ve learned, in case it can help anyone else looking to explore this beautiful medium. Scroll thru for a few examples below…
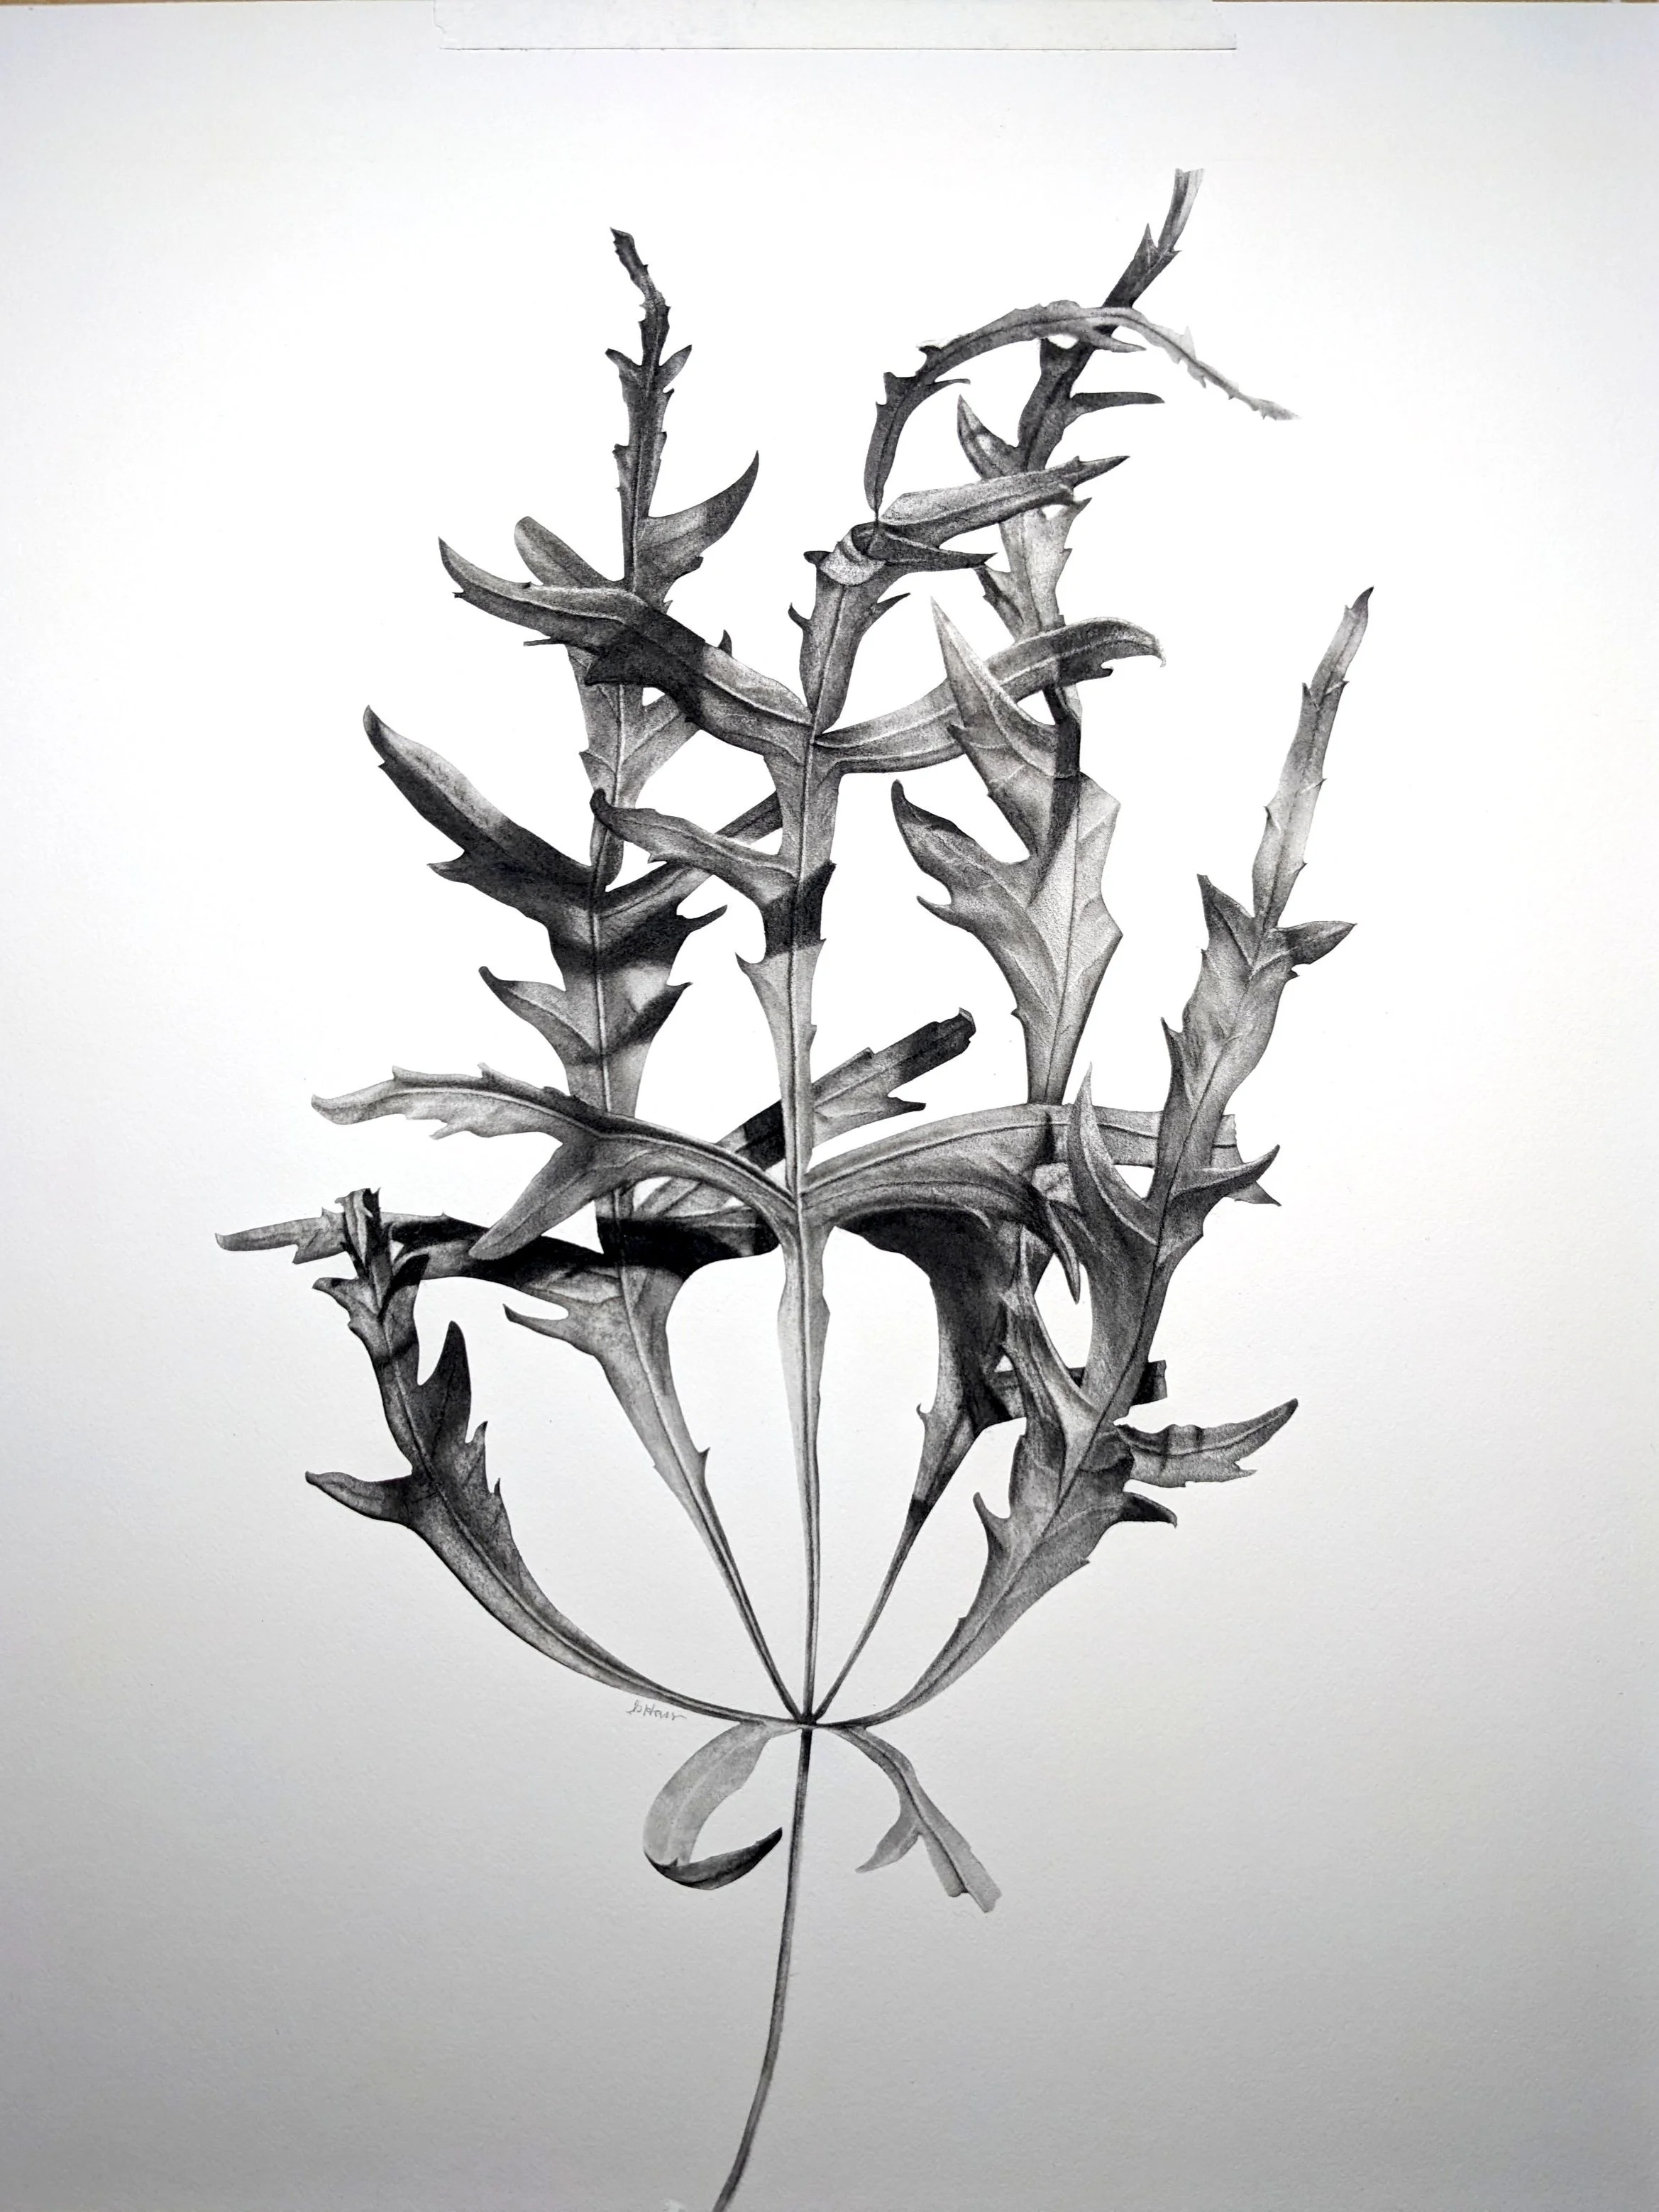


Here you can see my Spider Maple leaf and a closeup, then my Portal (driftwood) and the current project, which is a crabapple tree in winter.
In both of the earlier works, I used bristol paper as the support, but in the new one, I’m experimenting with drafting film. The reason for this is that then I can add color on the back of the film, allowing for the addition of color without mucking up the surface that accepts the carbon, since that’s pretty delicate and easy to ruin! I wanted to add color to this one because while this is a winter tree portrait, I think one of the things that makes this tree identifiable as a crabapple is how red its inner bark is where it has healed from cut branches and other injuries.
Before I go too far down that experimental road, I should outline the basic process and supplies.
Typically you want to use a slightly toothy (but fairly smooth, in the scheme of things) paper. I found my favorite was bristol from Borden and Riley brand, but many brands make good options. The reason this one won for me is that it was easier to erase back to white than some of the others I tried (Strathmore at least, I remember, hanging onto the pigment more—not all bad if you’re careful, but I tend to messiness).
Next, you want to get real carbon. There are a LOT of art supplies sold that say carbon black, or high carbon percentage graphite/charcoal, or whatever. Straight carbon is a little harder to come by—I had to order it online. I haven’t experimented to see how different charcoal is, but some of the products I’ve tried have more binder in them (wax or oil, like in a colored pencil). Wolff’s carbon pencils seem to be literally just carbon. Though they do come in a few levels of hard/soft, so maybe that does speak to binder percentages, the first step to carbon dust is to make dust, and these all do dissolve into dust. Other carbon products I’ve tried get gummy when you rub them on the nail file / emery board to get dust.
So, spoiler alert, that’s what you do next. You take your fancy carbon pencils, and you shred them into a little tupperware with a nail file, to get really fine particles.
Then you pick those up with natural-hair brushes and smush them onto the paper. This is the fun part! In the earlier two projects I did here on paper, I used low-tack airbrush frisket to mask the shapes out so the paper I wasn’t putting carbon on would stay white. With the drafting film, I seem to be able to erase all the way to white, so I haven’t bothered with frisket. I would worry about the frisket damaging the film’s coating or causing a crease when trying to remove it.
Masked or not, you start applying washes of light gray with large brushes, and work down to smaller ones. To transfer the drawing to the final substrate, I like to sketch with a used torchon with a little carbon on it. This way it’s easy to blend into the final carbon darkness when you get there, and you don’t have a “coloring book” outlined effect like you might if you did your drawing with pencil (even one of the carbon pencils).
I like to use a chunk of sticky tack to keep the edges clean as I build up the darkness. If you take an area too dark, it’s easy to use this to lighten it gradually, too. You can also use chamois or torchons to manipulate the powder on the paper. Depending on what’s already down, and what substrate, these may lighten or darken the pigment, so you have to experiment. Carbon dust requires a lot of push-pull and reworking of each area, so it’s slow going.
After I get a good amount of pigment down with the brushes, I like to start defining the darkest areas directly with the carbon pencils, sharpened pretty finely. Once you do this, you kind of want to rub it in with the brush or torchon, or it will just create lots of loose dust.
Last, I like to go in with various erasers to create texture and define internal edges. The driftwood project had lots of strong wood grain patterns, and these were really meditative and fun to explore with the erasers. I’m enjoying that process on bark texture in the tree project, too.
Hope this helps you understand a bit of how this process works! Let me know in the comments if you have questions, different ways of approaching this medium, or experiments to try!